breeding tool
Breeding path map
What to catch and how to breed, with the fewest steps: a starter closure from cheap parents, plus lowest-cost chains to key Pals. Not an exhaustive matrix — use the calculator for that.
Breeding calculator
Starter closure: what 8 cheap parents can reach
 Chikipi
 Vixy
Vixy Teafant
 Jolthog
 Cattiva
 Gumoss
 Lamball
 Cremis
Generation 1(13)
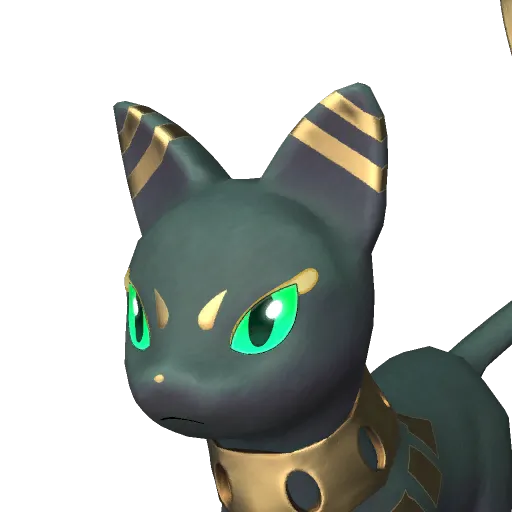 Mau
Mau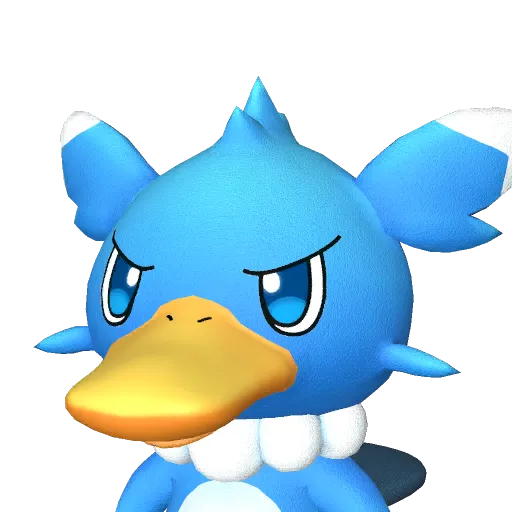 Fuack
Fuack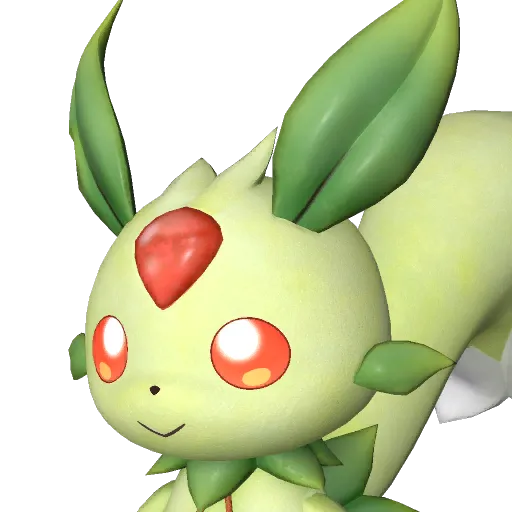 Lifmunk
 Clovee
 Daedream
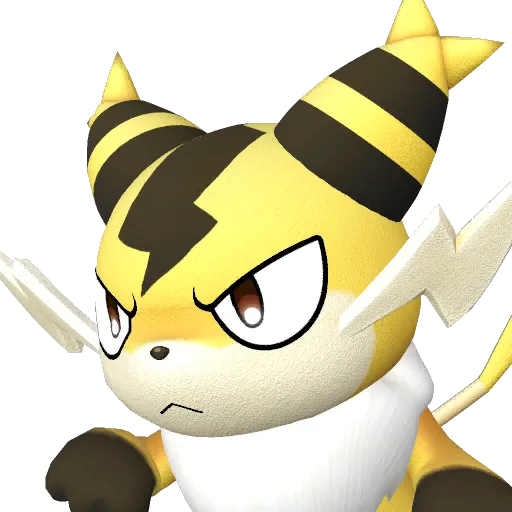 Sparkit
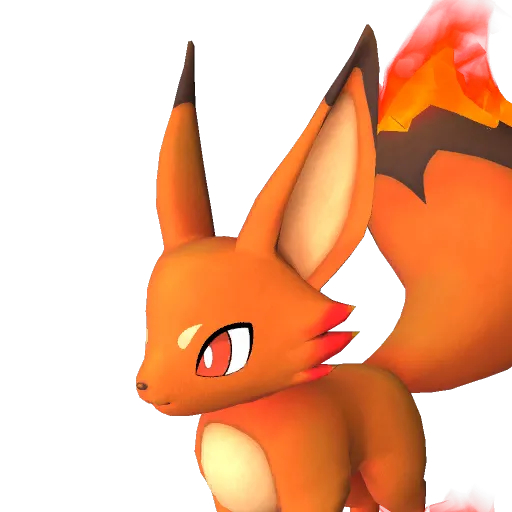 Foxparks
 Tanzee
 Depresso
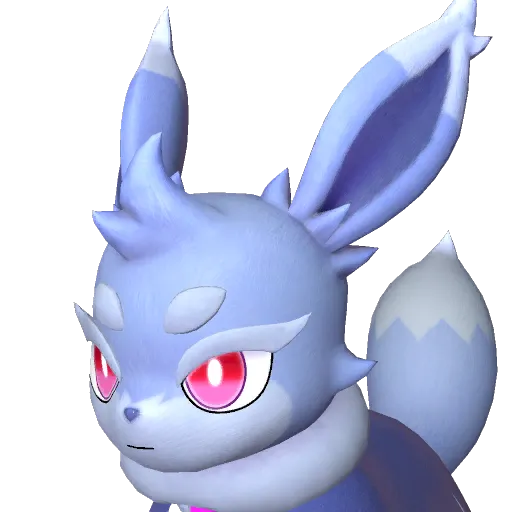 Nox
Nox Pengullet
 Ribbuny
 Woolipop
Generation 2(10)
 Mau Cryst
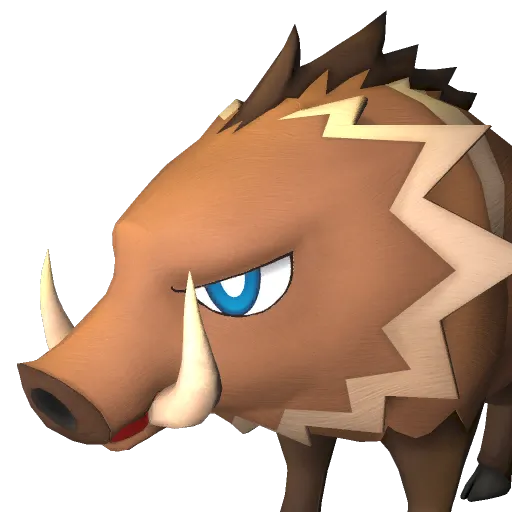 Rushoar
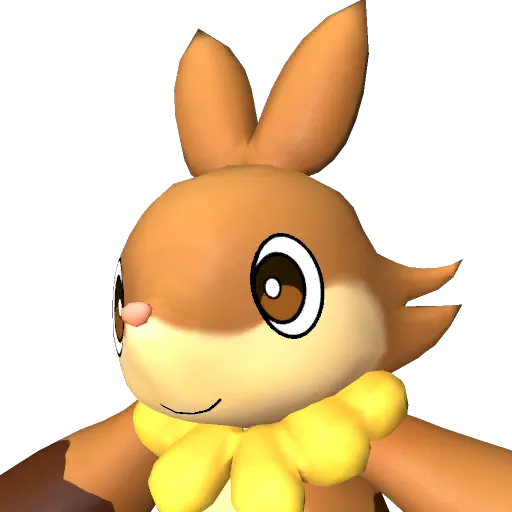 Fuddler
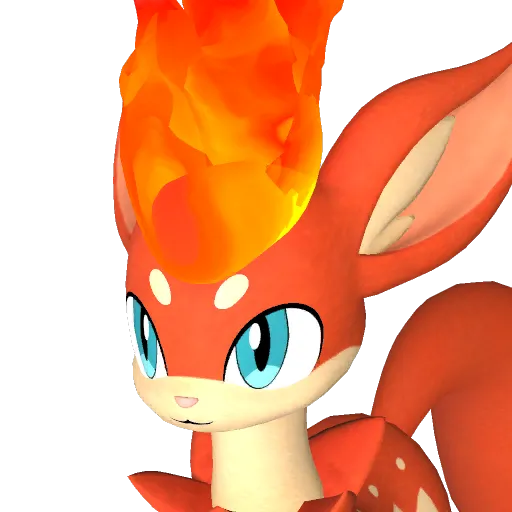 Rooby
Rooby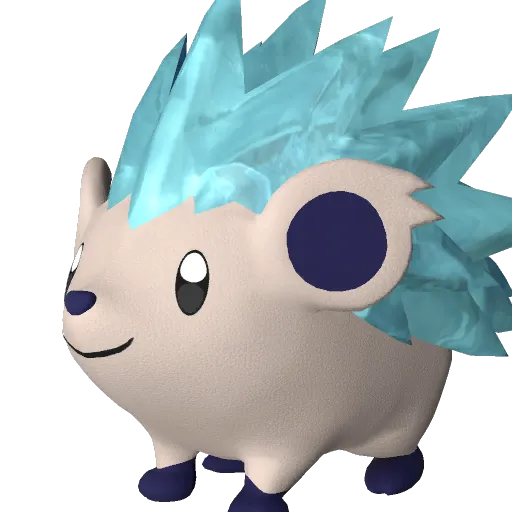 Jolthog Cryst
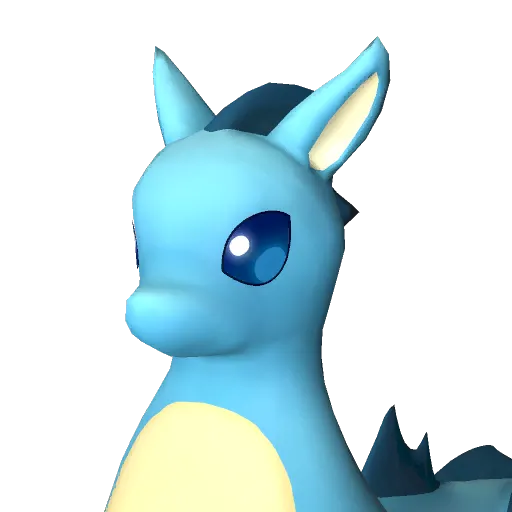 Kelpsea
 Swee
Swee Pengullet Lux
 Pupperai
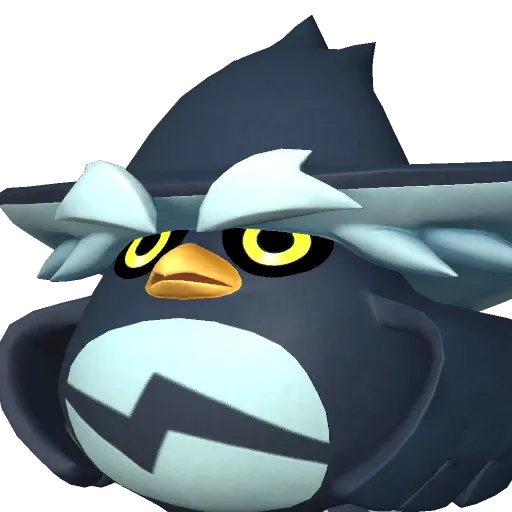 Hoocrates
Generation 3(15)
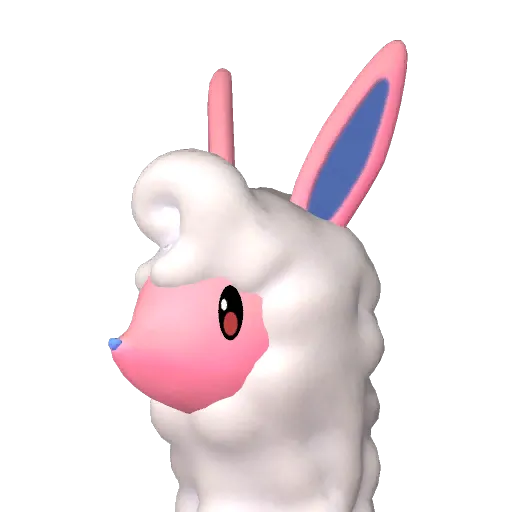 Melpaca
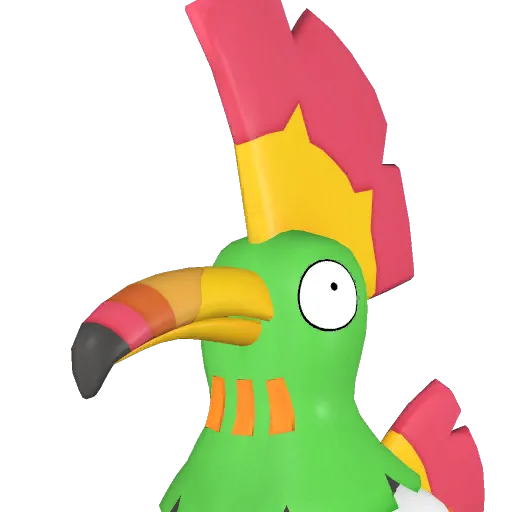 Tocotoco
 Mozzarina
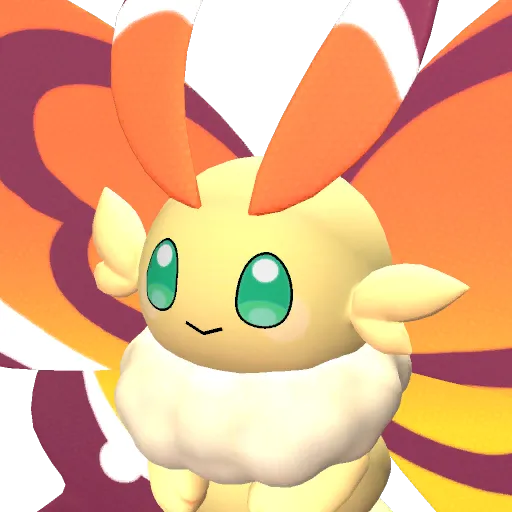 Cinnamoth
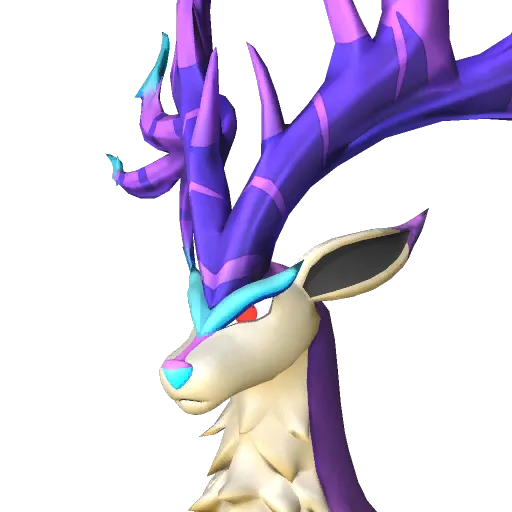 Eikthyrdeer
 Flopie
 Celaray
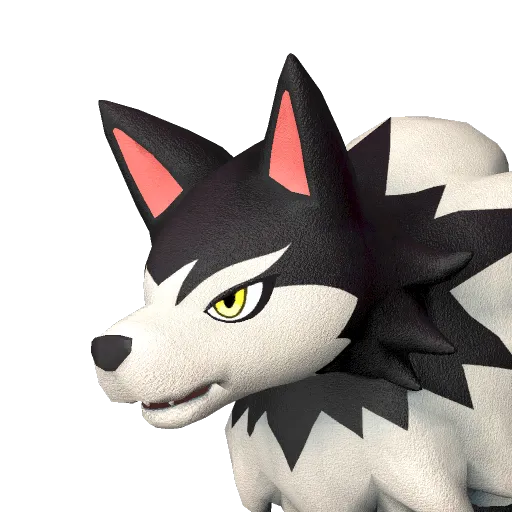 Direhowl
 Jelliette
 Flambelle
 Herbil
 Bristla
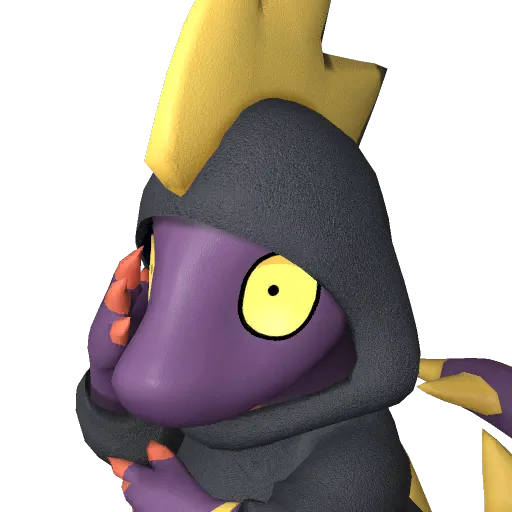 Leezpunk
 Killamari
 Hangyu
Generation 4(12)
 Caprity
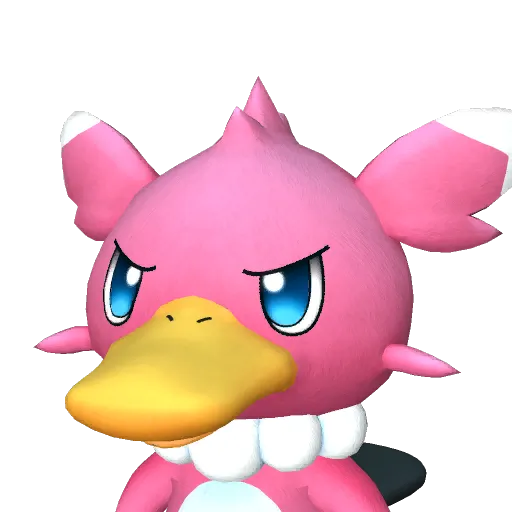 Fuack Ignis
 Eikthyrdeer Terra
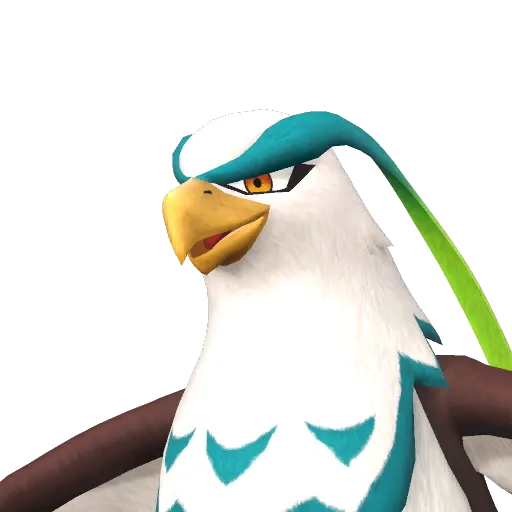 Galeclaw
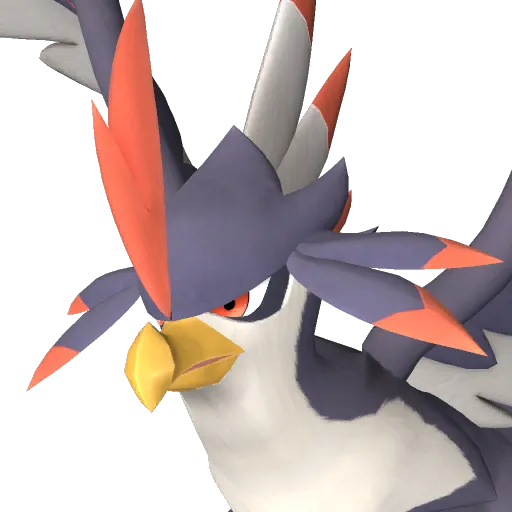 Nitewing
 Jellroy
 Croajiro
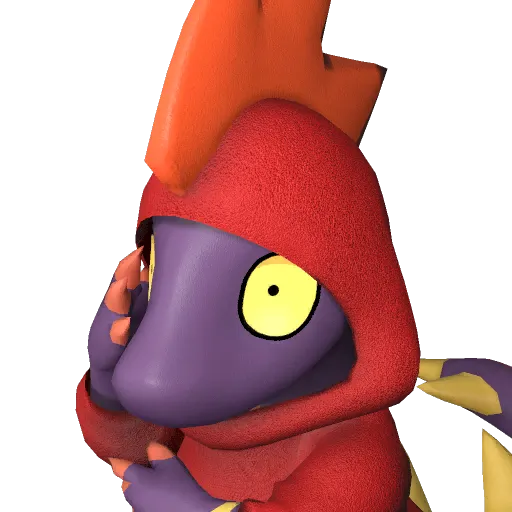 Leezpunk Ignis
 Tanzee Ignis
 Killamari Primo
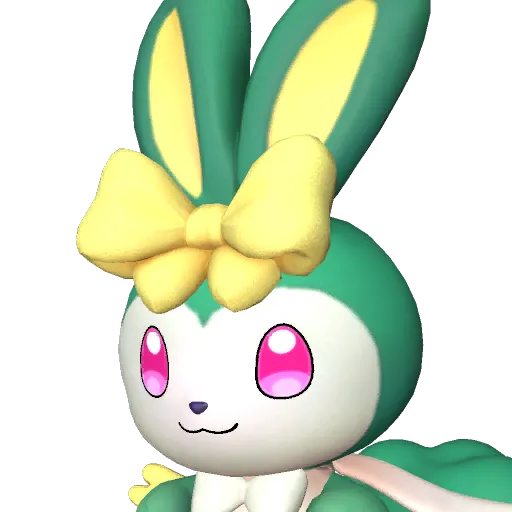 Ribbuny Botan
 Hangyu Cryst
Generation 5(11)
 Needoll
 Amione
 Muffly
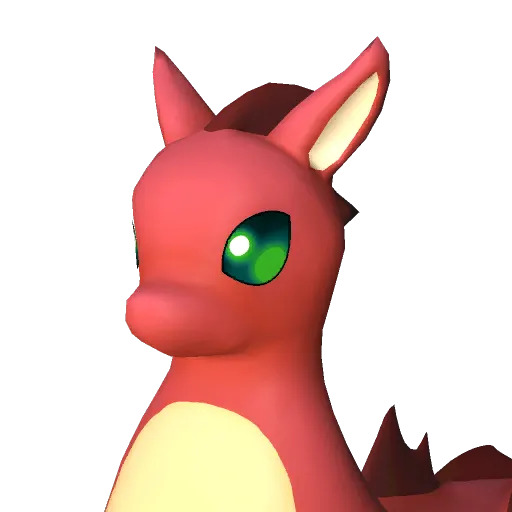 Kelpsea Ignis
 Gloopie
 Dazzi
Dazzi Surfent
 Gobfin
 Snugloo
 Finsider
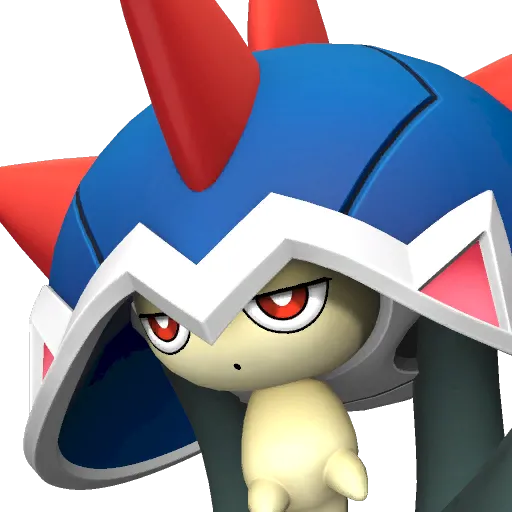 Turtacle
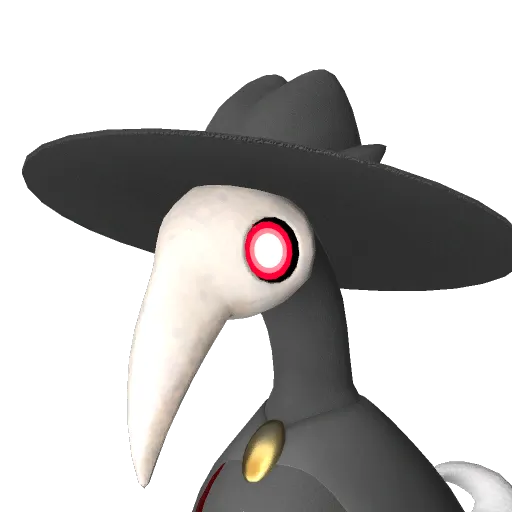 Cawgnito
 Puffolt
 Gobfin Ignis
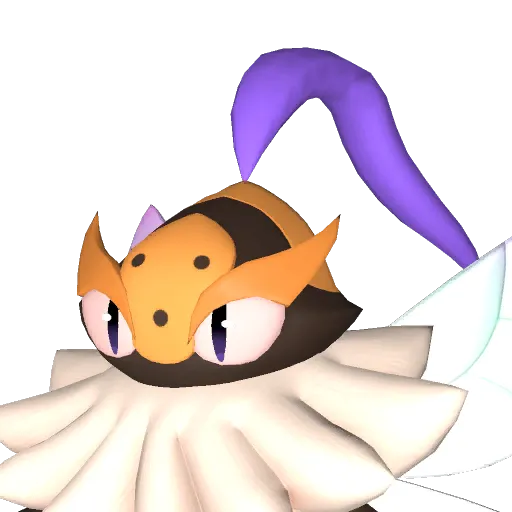 Beegarde
Key targets: lowest-cost ladder chains
Combat
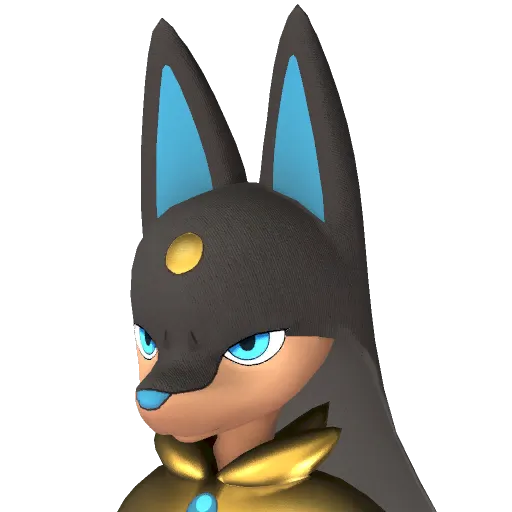 Anubis
2 wild catches + 1 step
Anubis
2 wild catches + 1 step
 Dupin
Dupin
 Knocklem Ignis
1 wild catch + 0 steps
Knocklem Ignis
1 wild catch + 0 steps
Catch first: Knocklem Ignis wild catch · R10
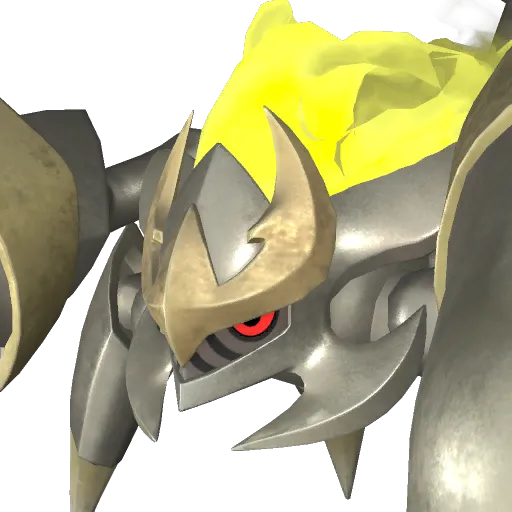 Menasting Terra
1 wild catch + 0 steps
Menasting Terra
1 wild catch + 0 steps
Catch first: Menasting Terra wild catch · R10
 Eidrolon Ignis
3 wild catches + 2 steps
Eidrolon Ignis
3 wild catches + 2 steps
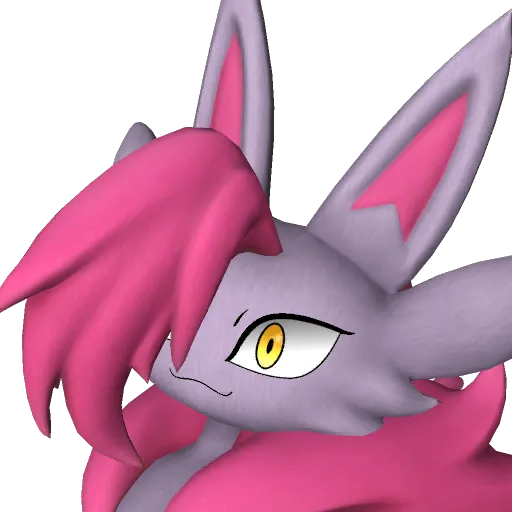 Nyafia
 Omascul
 Bushi Noct
1 wild catch + 0 steps
Bushi Noct
1 wild catch + 0 steps
Catch first: Bushi Noct wild catch · R7
 Ghangler Ignis
2 wild catches + 1 step
Ghangler Ignis
2 wild catches + 1 step
 Sootseer
 Ghangler
 Astegon
2 wild catches + 1 step
Astegon
2 wild catches + 1 step
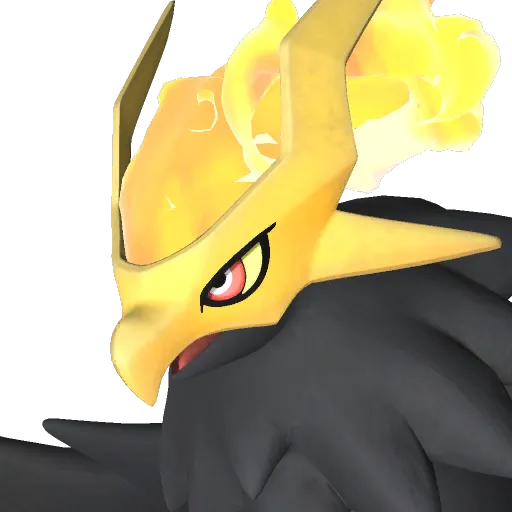 Helzephyr Lux
2 wild catches + 1 step
Helzephyr Lux
2 wild catches + 1 step
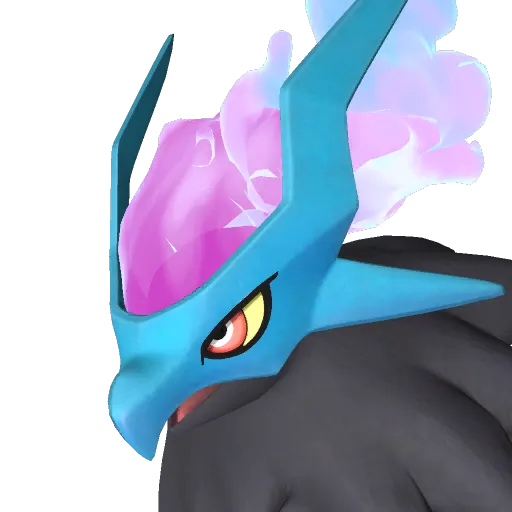 Helzephyr
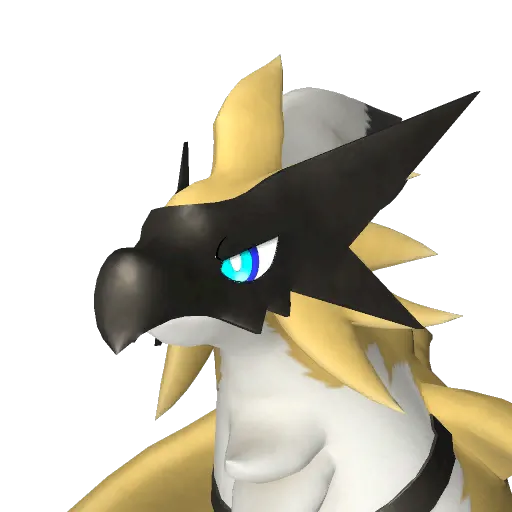 Beakon
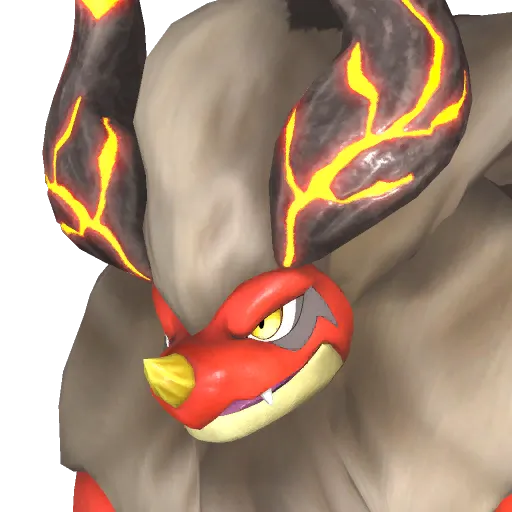 Blazamut
Work
 Solenne
 Renjishi
 Celesdir Noct
2 wild catches + 1 step
Celesdir Noct
2 wild catches + 1 step
Catch first: 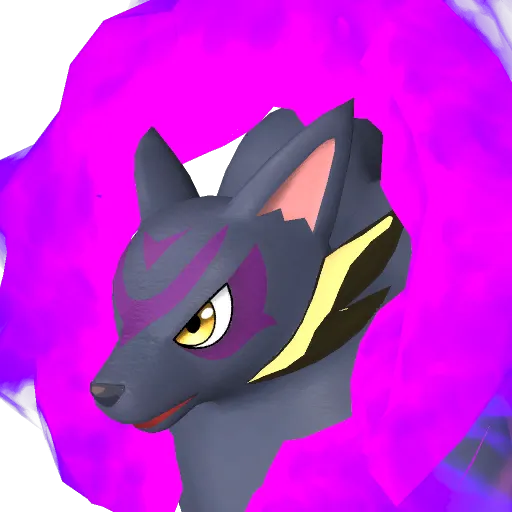 Kitsun Noct wild catch · R6
 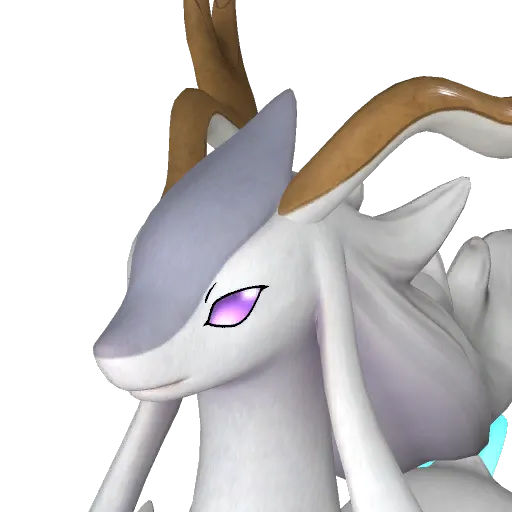 Celesdir wild catch · R6
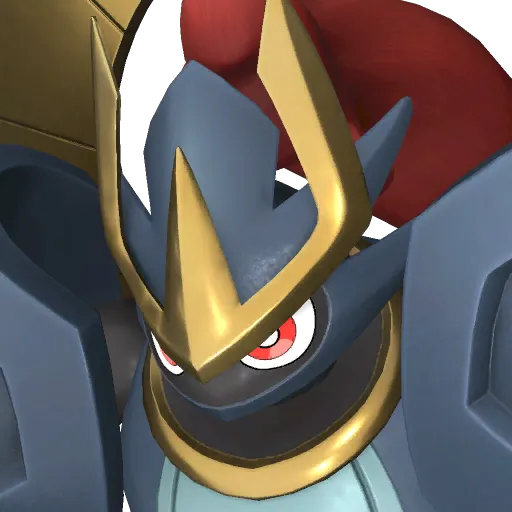 Knocklem
 Ophydia
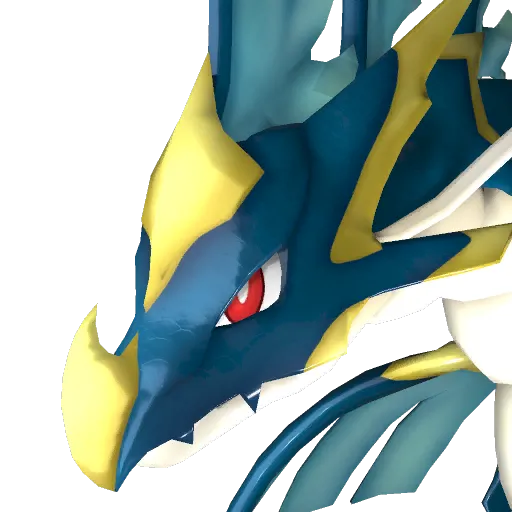 Jormuntide
2 wild catches + 1 step
Jormuntide
2 wild catches + 1 step
Catch first: Kitsun Noct wild catch · R6  Flaracle wild catch · R7
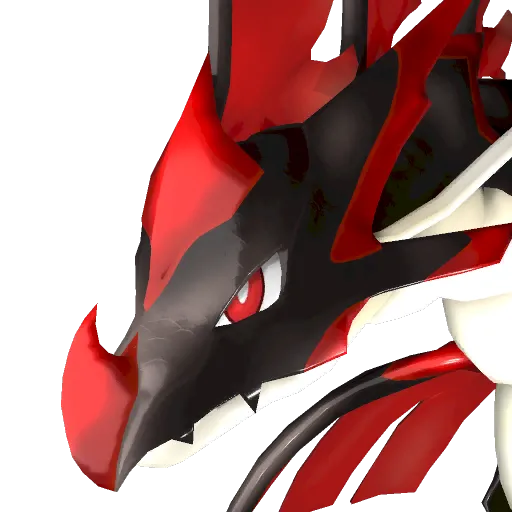 Jormuntide Ignis
1 wild catch + 0 steps
Jormuntide Ignis
1 wild catch + 0 steps
Catch first: Jormuntide Ignis wild catch · R9
 Lyleen Noct
1 wild catch + 0 steps
Lyleen Noct
1 wild catch + 0 steps
Catch first: Lyleen Noct wild catch · R10
 Starryon Primo
2 wild catches + 1 step
Starryon Primo
2 wild catches + 1 step
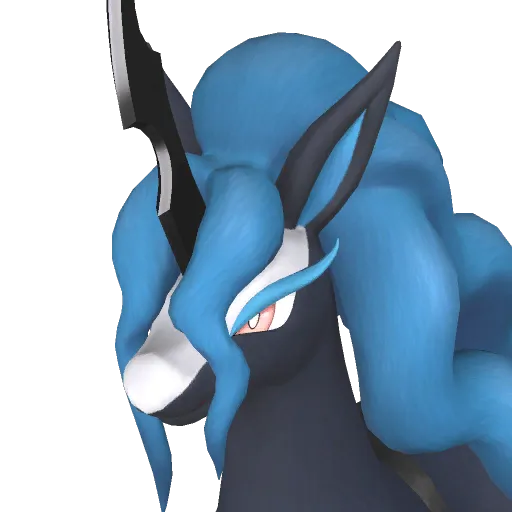 Starryon
 Solmora Lux
1 wild catch + 0 steps
Solmora Lux
1 wild catch + 0 steps
Catch first: Solmora Lux wild catch · R5
 Univolt Cryst
1 wild catch + 0 steps
Univolt Cryst
1 wild catch + 0 steps
Catch first: Univolt Cryst wild catch · R6
 Mycora
 Sibelyx Primo
3 wild catches + 2 steps
Sibelyx Primo
3 wild catches + 2 steps
 Lapure
 Wistella
 Sibelyx
Mounts
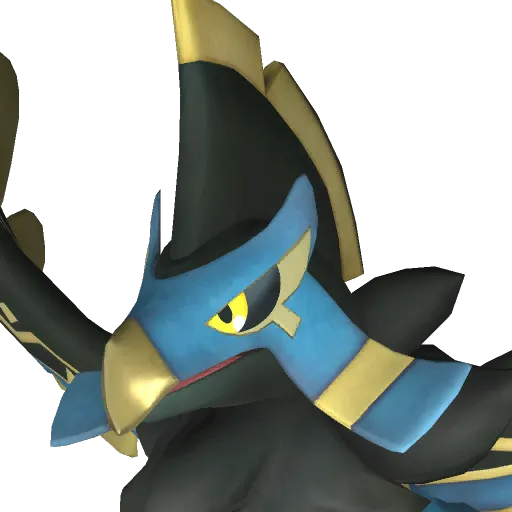 Faleris Aqua
1 wild catch + 0 steps
Faleris Aqua
1 wild catch + 0 steps
Catch first: Faleris Aqua wild catch · R9
 Suzaku
2 wild catches + 1 step
Suzaku
2 wild catches + 1 step
 Suzaku Aqua
1 wild catch + 0 steps
Suzaku Aqua
1 wild catch + 0 steps
Catch first: Suzaku Aqua wild catch · R9
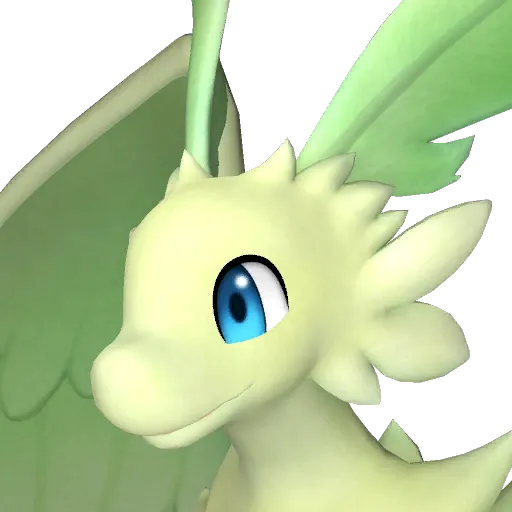 Quivern Botan
2 wild catches + 1 step
Quivern Botan
2 wild catches + 1 step
 Lullu
Lullu Quivern
 Wumpo Botan
2 wild catches + 1 step
Wumpo Botan
2 wild catches + 1 step
Catch first: Kitsun Noct wild catch · R6 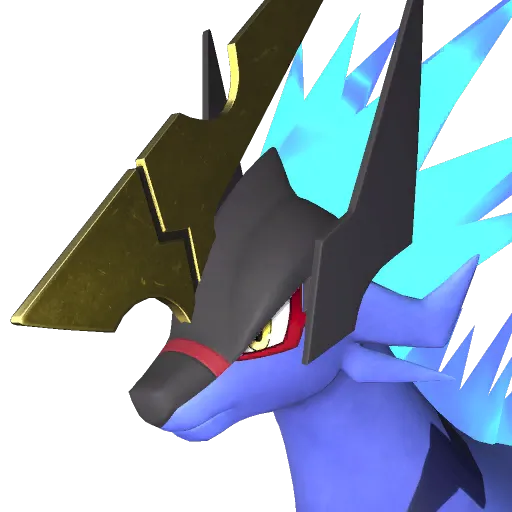 Azurmane wild catch · R7
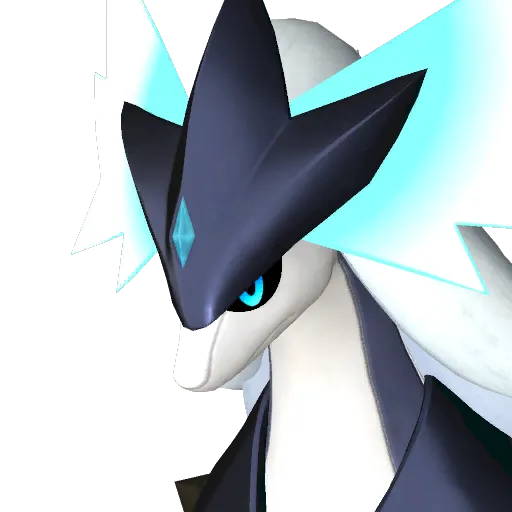 Silvegis
2 wild catches + 1 step
Silvegis
2 wild catches + 1 step
Catch first: Kitsun Noct wild catch · R6  Eidrolon wild catch · R7
Same-species only (legendaries & tower bosses)
 Green Slime
 Cave Bat
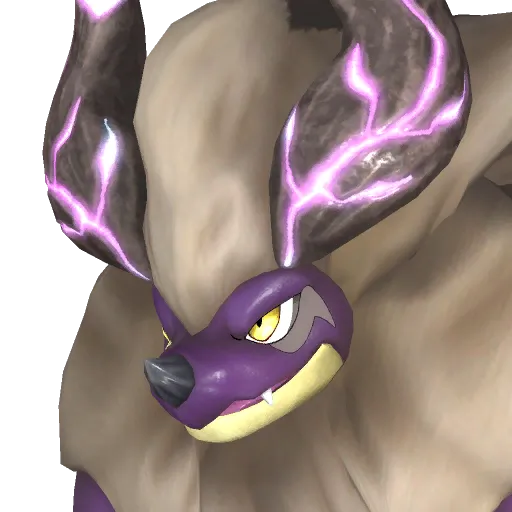 Blazamut Ryu
 Mimog
Mimog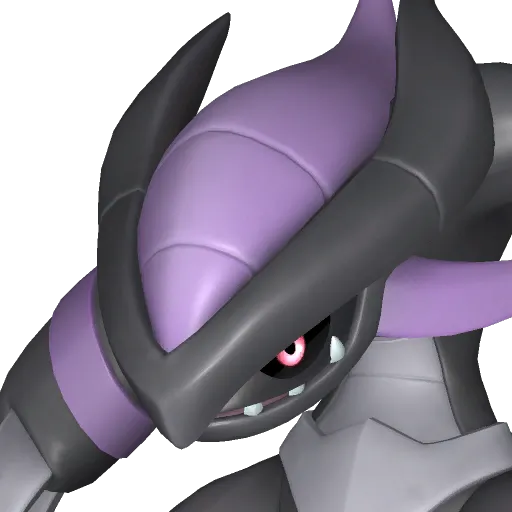 Xenovader
 Xenogard
 Grizzbolt
 Lyleen
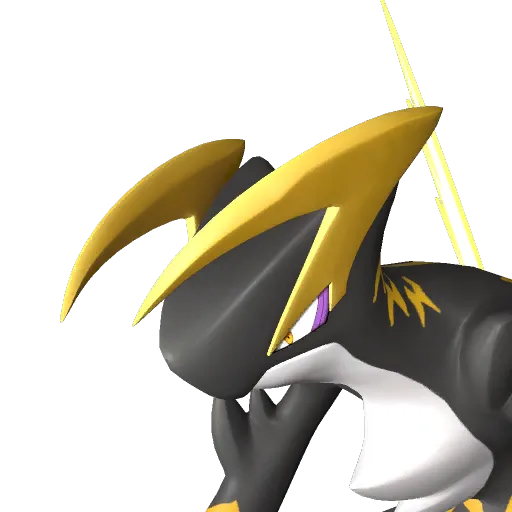 Orserk
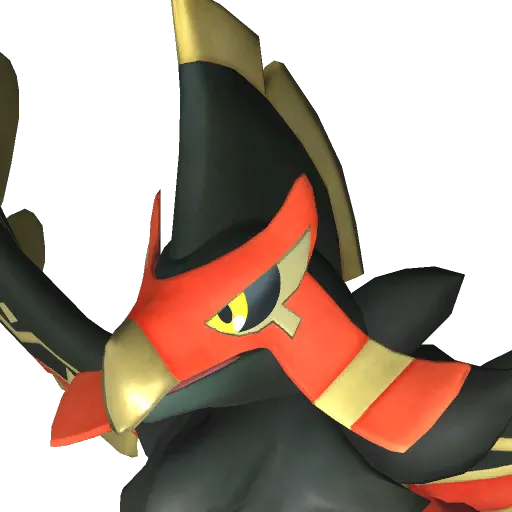 Faleris
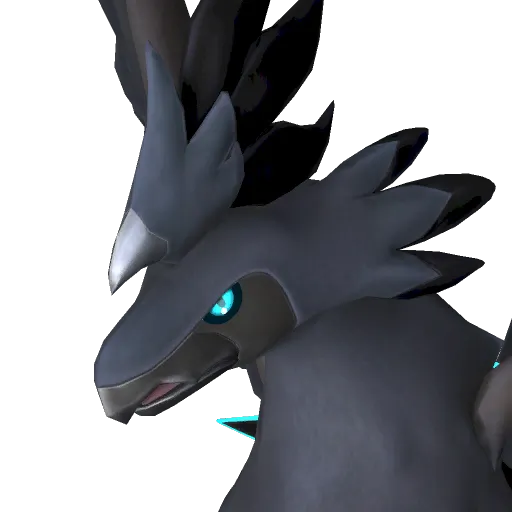 Shadowbeak
 Selyne
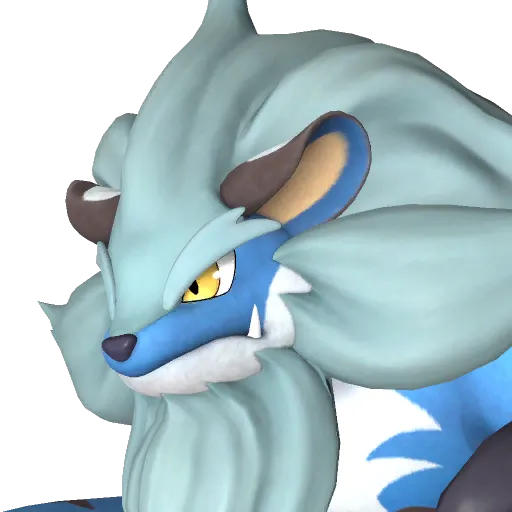 Bastigor
 Shaolong
 Silvance
 Dandilord
 Bellanoir Libero
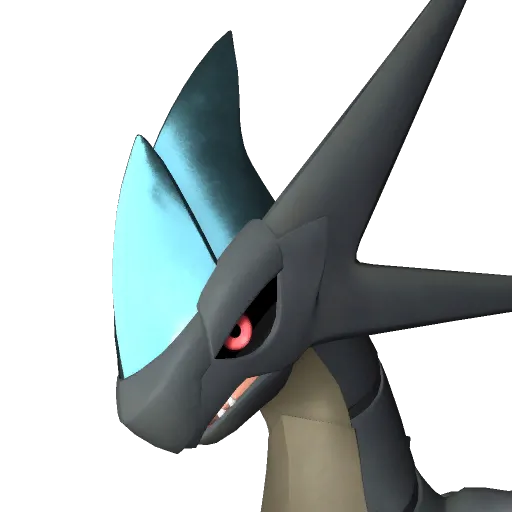 Xenolord
 Hartalis
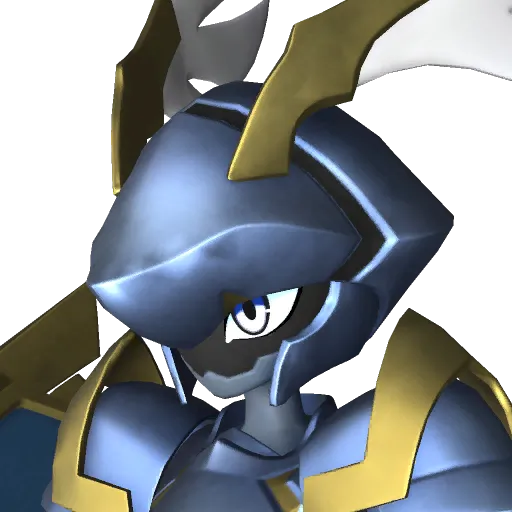 Paladius
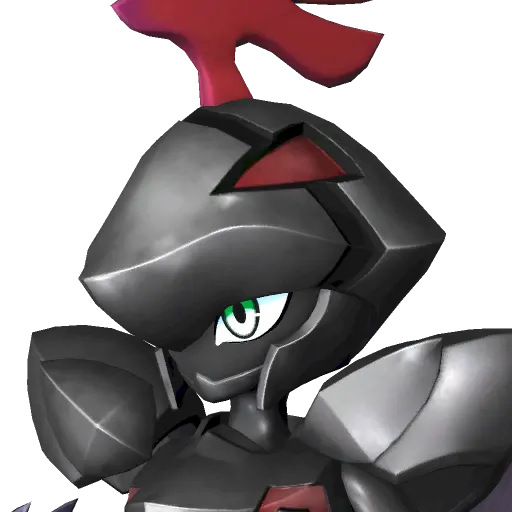 Necromus
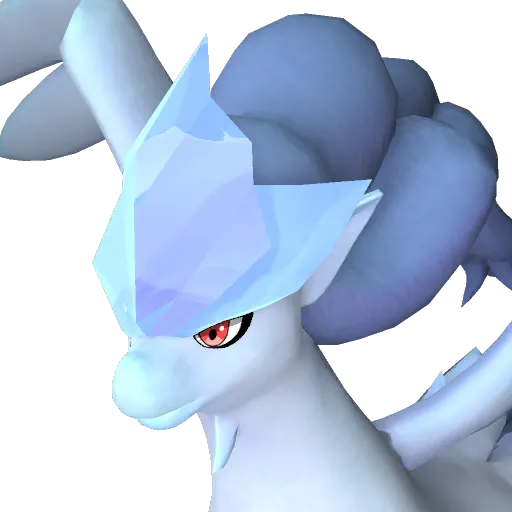 Frostallion
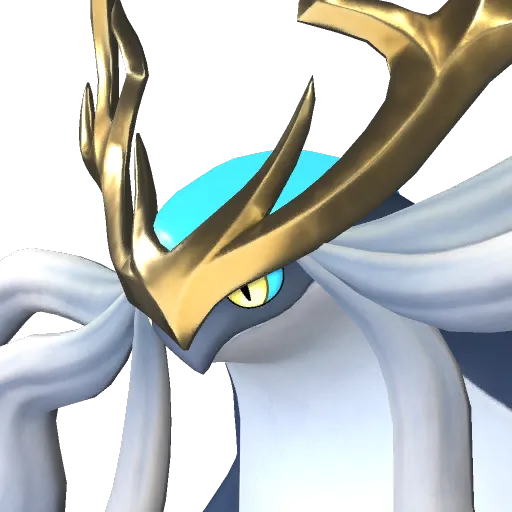 Neptilius
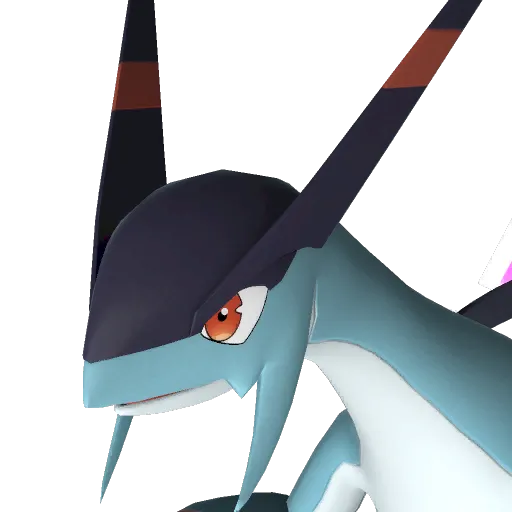 Jetragon
 Panthalus
 Astralym
Special acquisition (no breeding path)
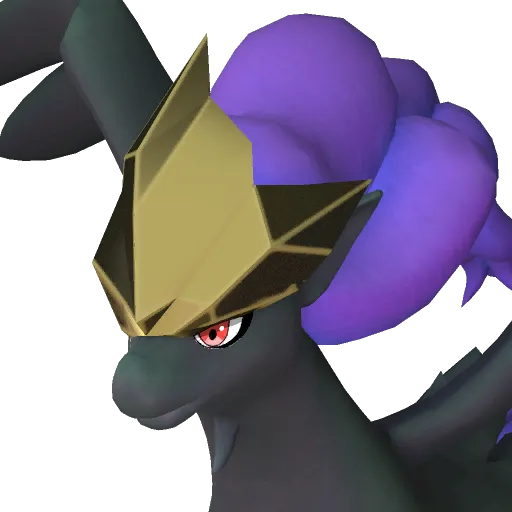 Frostallion Noct
 Bellanoir
How this map is computed (reproducible)
Same formula as the calculator (CombiRank average + override tables). Starter closure: only pairs within held Pals. Ladder chains: cost(pal) = min(wild-catch cost by rarity tier, 1 + max(cost of both parents)); a Pal counts as wild-catchable only if its spawn sheets include a true wild spawn (dungeon, alpha and egg sources excluded). Chains are rebuilt from the cost table and re-verified against the calculator formula.
Before you start breeding
Every step on these chains consumes a cake. Set up milk, egg and honey ranch lines first — verified 1.0 spawn spots for Mozzarina, Beegarde and Chikipi in the starter guide. Open the cake supply guide